In this post, I will describe a scenario and potential use case for the BodyReader and BodyWriter properties which are now exposed in ASP.NET Core 3.0 via the HttpContext on the HttpRequest and HttpResponse respectively.
Note, that I’m working with these during Preview 6 of the 3.0 release, so things may have changed a little by the time you read this post in the future after 3.0 is released.
Warning: The code I’m showing here is from a basic prototype and therefore is not thoroughly tested, nor proven to be suitable for production use. I have more work to do to check this and also some ideas I’m pursuing (and which I may cover in future posts) around a further reduction of allocations.
What are BodyReader and BodyWriter?
System.IO.Pipelines was introduced in .NET Core 2.1 and it provides a new set of APIs for efficient I/O. It was originally introduced for internal use in the Kestrel web server and that evolved into a public API surface as part of .NET Core. I won’t go into complete detail here about the finer points of this feature. If you want to read more, I recommend you check out this blog post by David Fowler. David also presented this with Cecil Phillip on Channel 9 in the On .NET episode ‘High-performance IO with System.IO.Pipelines‘.
System.IO.Pipelines supports efficient I/O scenarios, built using the latest high-performance APIs and aiming for a very low allocation overhead. With Pipelines, we can have data being written to and consumed from a pipe concurrently. A key difference from a more traditional approach which would use streams is that the buffers for the Pipes are managed from the ArrayPool and this supports low allocations.
The BodyReader, exposed on the HttpRequest handled through ASP.NET Core, is a PipeReader. It provides access to the body of a request as raw UTF8 bytes which we can consume and process. The ASP.NET Core machinery and Kestrel will write the bytes into this pipe as the request is processed.
We also have access to BodyWriter, which is a PipeWriter that we can use to write bytes into the HTTP response. Here we’re writing to a pipe which will be read by ASP.NET Core and Kestrel to send the HTTP response to the consumer of the web application. When possible this approach avoids copying of memory and the bytes can be read and transmitted over the wire directly from the memory buffer(s) of the pipe.
These can be used independently or together to perform highly optimised custom request or response handling in an ASP.NET Core application. In all likelihood, you won’t find yourself needing these for 99% of applications. They are suited to advanced use cases where you are looking for optimal response times and performance. You must accept the cost of complexity and maintainability if you head down a path where you decide to interact with these directly. In a vast majority of cases, you’ll want to use the higher level ASP.NET Core components and the MVC pattern to reduce the code that you need to write and maintain. If you have existing code which today works with the request and response streams directly, then this is a potential upgrade path you may want to follow with the release of ASP.NET Core 3.0.
When and Why We May Use BodyReader and BodyWriter?
I began working with the BodyReader and BodyWriter as part of a small, proof of concept prototype which I have recently developed. The requirement we have is to build a highly performant web service which has a single endpoint and which may process many tens of thousands of requests per minute, perhaps even thousands per second. We want to run this service as a container and ensure that we have high availability, fast response times and good throughput. If we can avoid allocation overhead we can also keep our memory footprint small and reduce the time spent in the garbage collector.
The service has a single POST endpoint which should accept a JSON payload. In the final requirement, this payload will contain at least ten properties. For this prototype, I’ve simplified to using a model with a single property. Various validation checks will need to occur and finally, the response body will contain a URL, dynamically constructed using some of the incoming JSON values.
The simplest and quickest approach to meet this requirement would be to create a standard MVC API application with a single controller and action defined. I’ll be benchmarking such a solution against this prototype in the future. In all likelihood, that will work just fine, but I was curious if there are some noticeable and worthwhile performance gains I can achieve by avoiding the MVC components and pipeline.
I was aware that the BodyReader and BodyWriter were being exposed in ASP.NET Core 3.0, so I set about using them to investigate firstly how they may be used and secondly, what performance improvements it may offer. In this post, we’ll focus on the former, as I’m yet to load test or benchmark the differences between the two possible approaches. The following sample application and code is the result of a few hours of investigation around the APIs available and the way to construct an application using these lower level building blocks. As a third, bonus step, I also wanted to begin making use of the new System.Text.Json APIs as well. The JSON APIs are another new feature of .NET Core 3.0 for high-performance JSON parsing and serialisation.
Using BodyReader and BodyWriter
The complete code for this sample is available on my GitHub AspNetCorePipeSample repository. I’ll include snippets of most of the required code as we dive into how it works below.
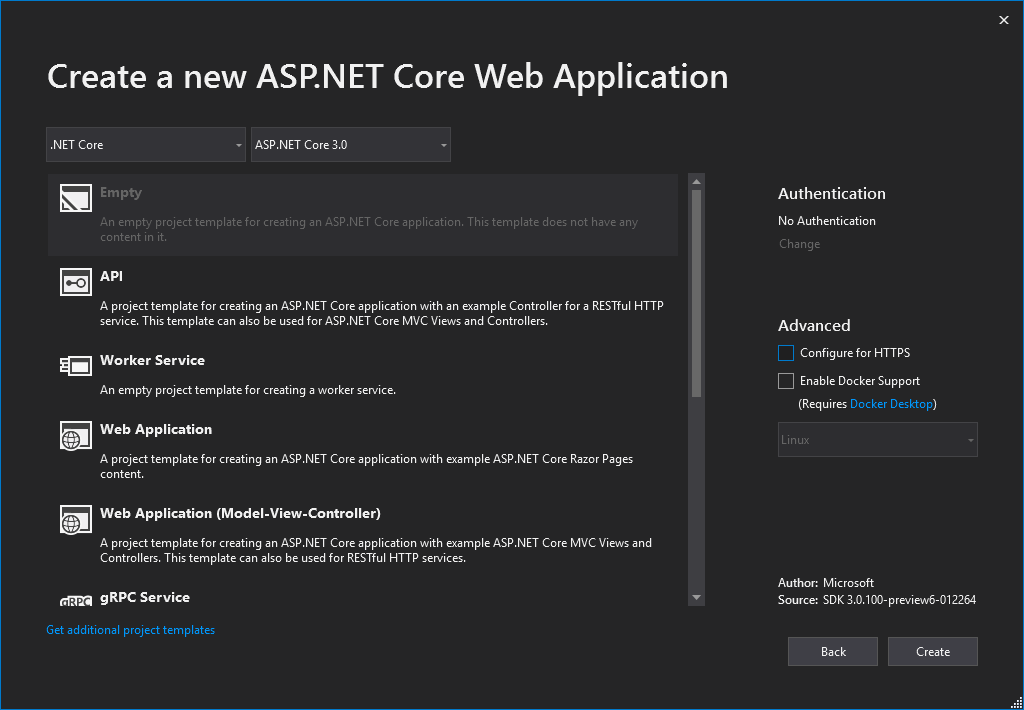
The starting point for my prototype was an empty ASP.NET Core 3.0 project. I’m using the preview 6 SDK at the time of writing this blog post.
All of the code for this sample is included in the Startup class for the application.
Configuring an Endpoint
The first step is to map an endpoint which will handle the request within the Configure method. Here is the code for mapping a POST endpoint on the root path.
Within the RequestDelegate we have access to the HttpContext.
We first store a local variable which accessed the RequestAborted property on the HttpContext (line 9). This is a CancellationToken which allows us to check whether the caller has aborted the request that we’re currently handling. By passing the cancellation token around, we can cancel any work we’re doing at the appropriate time.
The next step (line 11) is to attempt to read the JSON payload from the BodyReader to populate a model object. This code is defined in a private method called ReadModelAsync.
Reading Data From the BodyReader
The code for the ReadModelAsync method is as follows:
There’s quite a lot going on here so I’ll try to step through the essential parts. We’re going to read some data from the PipeReader (the BodyReader) and attempt to deserialise it using the new System.Text.Json APIs.
Because the data may not be written entirely to this pipe if the request is large, we can consume it inside a while loop. We’ll break out of the loop once we’ve read the entire data from the pipe or earlier if the request is aborted. This is the first place we can make use of the cancellation token.
Inside the while loop, we begin by calling ReadAsync on the PipeReader (line 7). This is an asynchronous operation so that we can await it. This frees our thread to do other work until some data has been written to the pipe and flushed.
We then access the Buffer on the ReadResult, which a ReadOnlySequence<byte>. This represents one or many internal buffers that contain the bytes for the request body. In this case, since our payload is small, we expect that this will be a single ReadOnlyMemory<byte> buffer which should contain the complete request body. For larger requests, multiple buffers may need to be used to hold all of the data. In that case, the buffers are logically linked into a sequence (ReadOnlySequence) so that the data can be read from the multiple contiguous blocks of memory.
The next step (line 10) checks within the sequence to see if the bytes for a closing curly brace are included in the buffer. This works in this sample and for a simple JSON payload since I can reasonably expect this only to appear once. If my payload may contain nested objects, then this would not be enough to validate that we have read the complete payload.
I’ll stress again, this is a prototype and this code is a little too naive to throw straight into production. There are other approaches I could and should use for a production application to ensure that I have a sequence with the complete JSON payload to work with.
The condition checks whether the position SequencePosition? is null. If it is not null, we have found the closing brace and can proceed to deserialisation. Otherwise, we advance our position in the reader to say that we’ve inspected the bytes but not finished consuming them yet. The loop will continue, it will then await the next ReadAsync call until more data has been written and flushed into the pipe.
Assuming that we have a complete payload, the deserialisation is pretty straightforward.
In the likely case that the buffer (ReadOnlySequence<byte>) contains a single segment, we can get a Span<byte> from the entire segment by calling FirstSpan on the buffer. We can pass that ReadOnlySpan<byte> into the new JsonSerializer included as part of System.Text.Json in .NET Core 3.0. We can use the new high-performance JSON APIs to deserialise the payload into an object model.
For the simple payload we are using in this sample, it’s doubtful that the request data will appear in multiple segments. For this sample, in that rare case, we’ll use the static Parse method on JsonDocument instead (line 23). This method accepts a ReadOnlySequence<byte> and produces an in-memory DOM representing the JSON payload. Using the JsonDocument we can locate the property that we’re expecting by calling the TryGetProperty method. This returns a JsonElement, on which we can call the GetString method to return a string containing the value of the property. We then assign that string to the appropriate property on a new instance of InputModel.
Note that I’m intentionally trying out two of the JSON APIs here. I could have skipped the IsSingleSegment check and only used the JsonDocument approach which works fine for both a single and multiple segment ReadOnlySequence<byte>.
Another important point to highlight here is that this current approach results in some allocations. For every valid request, an InputModel will be allocated, along with the string containing the path value. The goal in this sample is to get started with the BodyReader and BodyWriter so I avoided the complication of aiming for a zero allocation approach. It may be possible to avoid the object and string allocations entirely if I drop down to using the low-level Utf8JsonReader, which is something I may look at exploring further in the future.
Once, the PipeReader is complete, which signals that the writer has finished writing bytes and we’ve consumed all of the data from the pipe, we break out of the while loop and return the model. This may be null in any scenario where there is no payload or when we can’t locate the required property in the JSON payload.
We return to the RequestDelegate code within the endpoint mapping. As a reminder, the next lines there are:
We continue by setting some response headers and marking that the response is starting using the StartAsync method. At this point, the headers can no longer be modified and we will begin writing out the response body directly into the memory which will be provided by the BodyWriter.
Writing Data To the BodyWriter
The code to write the response is contained in another private method called WriteUrlAsync. We pass the BodyWriter (PipeWriter) as an argument to this method, along with the InputModel and the CancellationToken.
From the BodyWriter we can request some Memory which will be a Memory<byte> buffer into which we can write our response bytes. I access the Span property on the Memory<byte> and pass that into my BuildUrl method. Working with Spans is more efficient and since the BuildUrl method is not asynchronous, it can accept a Span<byte>.
Inside the BuildUrl method, we begin populating the response bytes. In this sample, I’m building a basic URL by appending the path from the request payload to a pre-defined URL.
Note that this is a prototype so no validation has occurred around the content of the path string. In a real-world application, we should perform checks to ensure we’re not rendering any dangerous content into the URL and that we only use URL safe characters. I’ve skipped that in this sample for brevity.
The bytes for the URL prefix are stored in a static property on the Startup class which holds a ReadOnlySpan<byte>.
We can copy the bytes for the UrlPrefix into the Span<byte> representing the response bytes. We copy these to the beginning of the Span and update a position variable where we’ll track the number of bytes that we’ve written into the response Span<byte>.
Next, we conditionally add the path to the end of the URL. On line 24 we add the bytes for the slash character into the Span at the index which represents the current position. We ensure we advance the position as well.
Next, we use the Encoding.UTF8.GetBytes overload which can encode UTF8 bytes from a ReadOnlySpan<char> directly into a Span<byte>. Because this writes the bytes into our response Span<byte> we avoid any unnecessary allocations and copies. Since a string can be implicitly cast to ReadOnlySpan<char>, we can pass our path string directly as an argument. Because we know our current position in the response bytes, we can Slice into the Span so that we write the path bytes into the appropriate position in the response bytes, after the URL prefix and slash.
Once the URL is built we return from the BuildUrl method back to the WriteUrlAsync method. We advance the PipeWriter (BodyWriter) by the number of bytes written (line 10) and then call its FlushAsync method to signal that we’re done writing our response bytes. The reader end of the pipe (internal to ASP.NET Core and Kestrel) can now begin sending the response.
Summary
I appreciate that there’s quite a lot of code and detail in this post. It’s an advanced use case so you rarely, if ever, should need to apply this technique in the wild. However, the approach is quite powerful for low allocation, rapid request handling since we avoid loading any of the standard MVC pipeline and components. Because we’re accessing the request from the BodyReader and writing directly into the response memory using the BodyWriter, we avoid many allocations here. When using the pipelines feature, the buffers used for the Pipes are managed by the Pipe and new buffers are created from the ArrayPool which is efficient from an allocations perspective.
I’ll stress one last time that you should not default to this approach in most cases. It has some specific advantages, but it adds complexity and puts much more responsibility in the hands of the developer. I’d recommend starting with a known pattern such as using MVC and when you prove that you need more performance for a particular scenario, then you may consider accessing the BodyReader and BodyWriter. Even then, as I’ll be doing, you will probably want to load test a prototype and see if the number of requests per second you can handle is increased. You will also want to profile the memory use when processing a request to see what improvements you achieve there too.
With that warning complete, this has been an interesting prototype to work on and it may prove useful for our requirements if the profiling and load testing results look good.
Have you enjoyed this post and found it useful? If so, please consider supporting me: